Tutorial Structure and Setup
All of the material needed to go through this tutorial is here on this website. Feel free to browse it at your own pace.
How to Use This Website
On the left-hand side of this web page you’ll see the table of contents for the entire tutorial. If you don’t see the contents, click the hamburger (☰) icon to expand the left-hand column. On the right-hand side of the page you’ll see the table of contents for this particular page. To navigate to the next section you can either click on the next section on the tutorial’s table of contents on the left-hand side, or you can scroll to the bottom of the page to click the button on the bottom right to go to the next section.
This Book is Interactive
Most of the material presented here is written in the python3 programming language.
It is presented in the Jupyter Notebook format,
which allows us to interweave the lecture material with the code interactively.
Click here
for a quick guide on how to use Jupyter Notebooks.
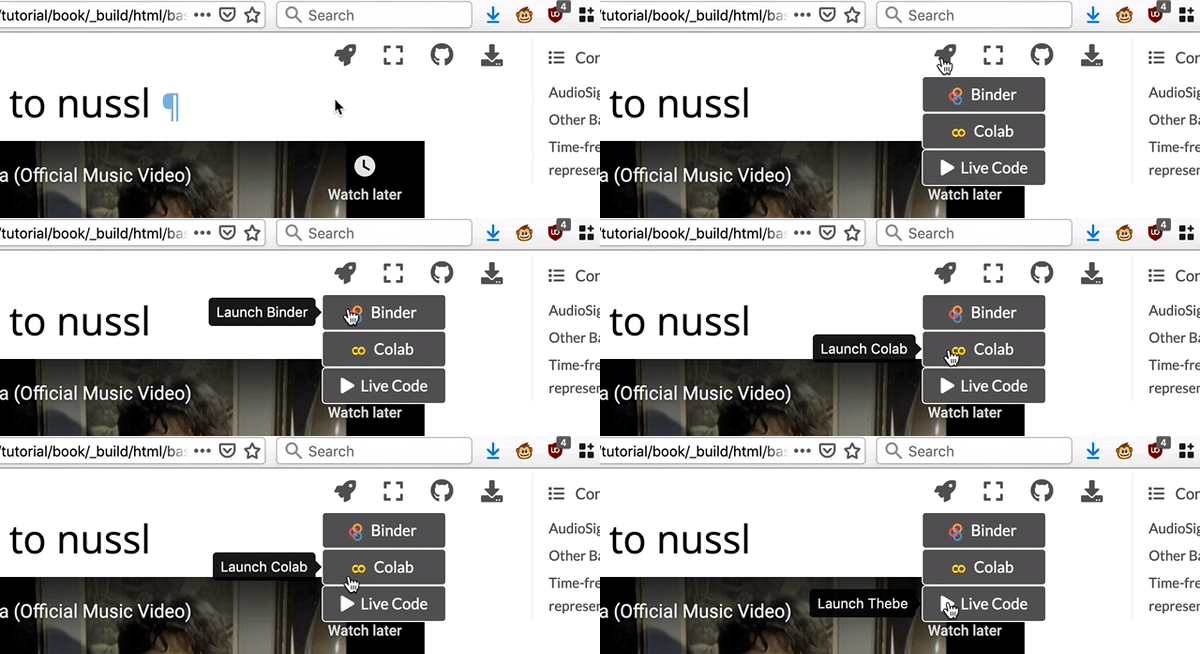
Not every chapter will have runnable code, but the ones that do will have a little rocket icon in the top right-hand corner (see Fig. 1).
Note
Not all content will be visible in the notebooks when you view them outside of this page. For instance, special sections on the website this “Notes” block, links to reference references or glossary terms, etc, will only work on the live website you are currently viewing.
Running on the Cloud (Recommended)

Fig. 1 There are links to run each notebook on the cloud at top right of the page.
If a tutorial web page has an interactive component, the page will have a rocket icon in the top right-hand corner. When you hover your mouse over this icon you will see three options to run the notebook code in the cloud.
Google Colab (Recommended)
Google Colab is Google’s version of a Jupyter Notebook that is run in the cloud. Click here for an introduction to using Colab. To use Colab, hover your mouse over the rocket icon and select “Colab” from the drop down menu and a populated Colab notebook will open in your browser.
Colab has free access to GPUs. Although they are not required for this tutorial, you may find them useful to speed up some of the tasks. To use the free GPUs select “Edit > Notebook Settings” and choose GPU under the Hardware Accelerator dropdown list. Note that we have not tested any of this code on TPUs, so we will not be providing support for them.
You must also run the first cell of every notebook to install the requirements. This takes 2-3 minutes in our experience.
MyBinder.org & Thebe
MyBinder.org (Binder)
If you are unable to access Colab but still want to run the notebook material
on the cloud, there are direct links to mybinder.org (or Binder)
versions of the notebooks on each page. To use mybinder, hover your mouse over
the rocket icon and select “Binder” from the drop down menu and a populated
Binder notebook will open in your browser.
When you open a Binder, it will take you to a page that says Starting repository: source-separation/tutorial/master.
We have also usually the message Your session is taking longer than usual to start!.
This is normal, as the Docker environment takes a long time to build.
Please expect to wait 10-30 minutes before the first time the Binder notebook launches!!
Binder does not offer access to GPUs.
Once the Binder is launched, you may skip the first cell that installs the required packages and run the notebook material.
Thebe
If you want to run the notebook cells without leaving this tutorial page, you can select “Thebe” from the drop down menu below the rocket icon at the top right of the web page. Thebe runs Binder in the background, so expect it to be it to be as slow as Binder.
Running Locally

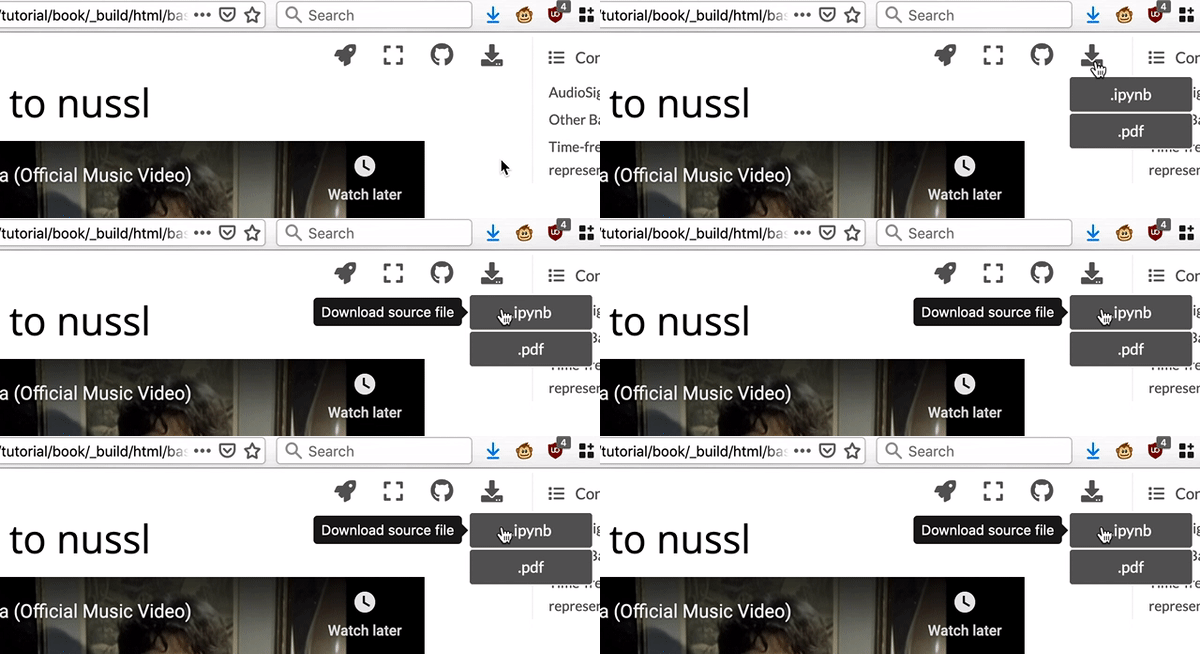
Fig. 2 There are links to download each notebook at top right of the page.
We have included links to our github repo
which has requirements.txt (or environment.yml) to set up your own environment
so that you can use these tools locally, if you so choose. To run the notebook
locally, select “.ipynb” (“Download Source File”) from the downloads drop down
menu at the top right corner of the page.
If you choose to run locally, here are the recommended steps:
Clone the github repo into a new directory.
Make a new conda environment.
If you want to install using the included
environment.ymlfile see the (instructions here). Then activate your environment.If you want to install using
pip, activate your environment and the runpip install -r requirements.txt. Note that you should haveffmpeginstalled prior to installing the requirements (instructions here).
Run
jupyter labin your command line and navigate to the URL that it prints in the console
(instructions here).Learn!
Getting in Touch
Github

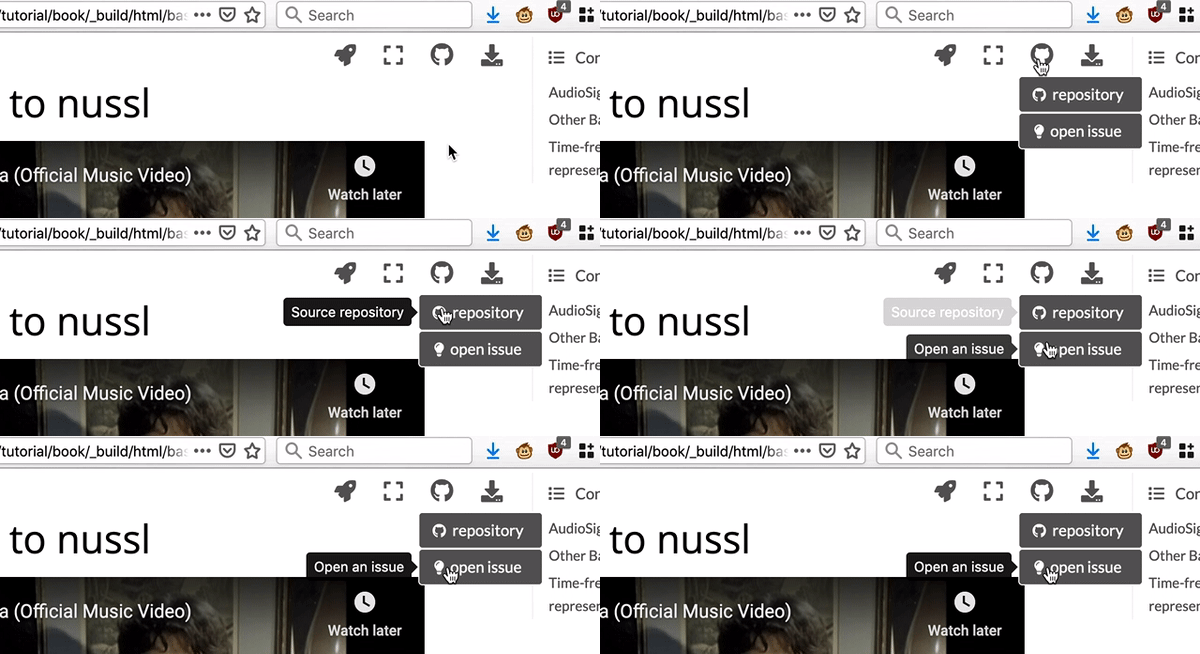
Fig. 3 Links to the Github repository are on the top right of the page.
There are links to the Github repository for this website and its notebooks at the top right corner of every page of this site.
Found a bug? Typo?
Feel free to open an issue here. This link is also at the top right corner of every page.
ISMIR2020 Slack Channel
Feel free to join the conversation on the ISMIR2020 Slack. Channel name: #tutorial-4-open-source-separation.
Let’s get started!
Press the button on the bottom right to advance to the next section.